

Maintaining a motorcycle involves several crucial tasks, with one of the most critical being the regular replacement of brake fluid. Over time, brake fluid can absorb moisture and contaminants, diminishing its performance and potentially compromising safety. This guide will delve into the importance of understanding how often to change your motorcycle’s brake fluid and the factors that influence this frequency.
Most manufacturers recommend changing brake fluid every one to two years, but this can vary based on riding habits, environmental conditions, and the type of fluid used. Riders who frequently navigate wet or humid conditions might need to adjust their maintenance schedule accordingly. Additionally, different types of brake fluid–such as DOT 3, DOT 4, and DOT 5–have varying properties that can affect how often they should be replaced.
By ensuring that your motorcycle’s brake fluid is fresh and effective, you not only enhance your bike’s braking performance but also ensure safety on the road. In this article, we’ll explore the signs that indicate it’s time to change your brake fluid, as well as a step-by-step guide to the replacement process, empowering riders to maintain optimal braking conditions for their motorcycles.
Understanding Brake Fluid Types and Their Lifespan
Brake fluid is essential for the safe operation of any motorcycle. It serves as the hydraulic medium that transfers the force from the brake lever to the brake calipers, ensuring effective stopping power. There are primarily two types of brake fluid used in motorcycles: DOT3/DOT4 and DOT5.
DOT3 and DOT4 are glycol-based fluids. They are hygroscopic, meaning they absorb moisture over time. This property can lead to a decrease in boiling point, affecting braking performance. Typically, the lifespan of DOT3 and DOT4 fluids is around 1 to 2 years depending on usage and environmental conditions. Regular service intervals should include checking and replacing these fluids to maintain optimal braking performance.
DOT5, on the other hand, is silicone-based and is not hygroscopic. This means it does not absorb moisture, providing a longer lifespan, often exceeding 2 years without significant degradation. However, it is important to note that DOT5 should not be mixed with DOT3 or DOT4 fluids, as this can lead to serious brake system issues.
Understanding the type of brake fluid used in your motorcycle is crucial for maintaining performance and safety. Regular checks and timely replacement as part of your service routine will ensure your braking system functions properly and effectively.
Signs Indicating It’s Time to Change Brake Fluid
Proper maintenance of your motorcycle’s braking system is crucial for safe riding. One significant aspect of this maintenance is regularly changing the brake fluid. Here are key signs that indicate it might be time for a brake fluid service:
- Discoloration: Fresh brake fluid is typically clear or light amber. If you notice a dark, murky color, it may indicate contamination and the need for a change.
- Decrease in Brake Performance: If your brakes feel less responsive or take longer to engage, this could signal that the fluid is old or contaminated, affecting overall performance.
- Moisture Absorption: Brake fluid is hygroscopic, meaning it absorbs moisture over time. If you notice a significant amount of moisture in the fluid, it’s time for a service to prevent brake failure.
- Air Bubbles: If you experience a spongy brake lever or pedal, air trapped in the brake fluid can signify the need for a change. This often occurs due to wear or moisture buildup.
- Age of Brake Fluid: As a general guideline, brake fluid should be changed every 1 to 2 years, regardless of its condition. If it’s been a while since the last service, it’s wise to check.
- Brake Warning Light: Some motorcycles have a dashboard warning light for the braking system. If this light activates, it may indicate low fluid levels or other issues requiring immediate attention.
Monitoring these signs regularly can help ensure your motorcycle’s brakes function effectively and safely. Regular maintenance will save you from costly repairs and enhance your riding experience.
Step-by-Step Process for Changing Motorcycle Brake Fluid

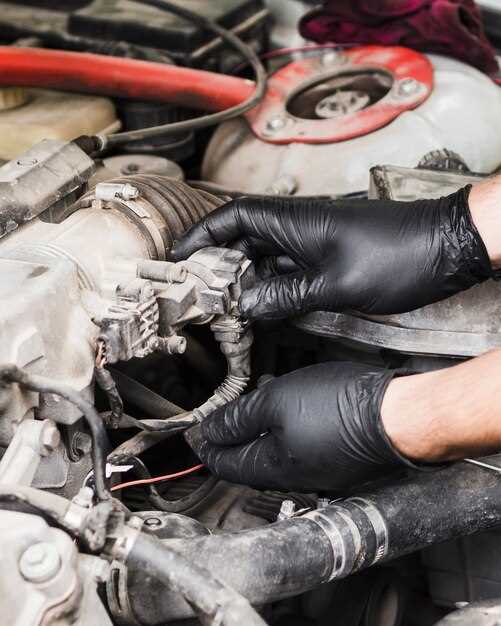
Changing the brake fluid in your motorcycle is a crucial maintenance task that ensures optimal braking performance. Follow these steps to complete the process efficiently.
1. Gather Your Tools and Materials
Before starting, collect the necessary tools: a wrench, a suction pump or turkey baster, a new bottle of brake fluid suitable for your motorcycle, rags, and safety goggles. Make sure you have a clean workspace to avoid contamination.
2. Locate the Brake Fluid Reservoir
Find the brake fluid reservoir, typically located near the handlebars for the front brake or near the rear wheel for the rear brake. Check the owner’s manual for the exact location if you’re unsure.
3. Inspect the Old Brake Fluid
Before draining, examine the current brake fluid. If it appears dark or contaminated, it’s time for a change. This is an indication that moisture has entered the system, compromising performance.
4. Remove Old Brake Fluid
Using a suction pump or a turkey baster, carefully extract the old brake fluid from the reservoir. Dispose of it properly according to local regulations, as brake fluid is corrosive.
5. Clean the Reservoir
Wipe the inside of the reservoir with a lint-free cloth to ensure no contaminants remain. Be careful not to allow any debris to enter the brake lines during this process.
6. Refill with New Brake Fluid
Pour the new brake fluid into the reservoir up to the recommended level indicated by the markings on the side. Ensure you use fluid that meets the specifications outlined in your motorcycle’s manual.
7. Bleed the Brake Lines
To remove any air bubbles that may have formed in the brake lines, you will need to bleed the brakes. Start with the brake furthest from the master cylinder. Attach a clear tube to the bleed valve and place the other end in a container. Open the valve and pump the brake lever repeatedly until new fluid flows out without any bubbles. Close the valve while holding the lever to maintain pressure.
8. Check Brake Functionality
After bleeding, check the firmness of the brake lever. If it feels spongy, repeat the bleeding process until the lever becomes firm. Inspect for any leaks around the reservoir and brake lines.
9. Clean Up
Wipe any spilled fluid with rags and dispose of old brake fluid responsibly. Ensure all tools are put away and protective gear is removed.
10. Test Ride
Before heading out on a long ride, test the brakes at low speeds in a safe area. Ensure they engage smoothly and provide the expected stopping power.