

Replacing fairings on track bikes can be an essential maintenance task that enhances both the performance and aesthetics of your motorcycle. Fairings play a crucial role in reducing aerodynamic drag and protecting vital components from debris and impacts. With proper installation, well-fitted fairings not only improve speed but also provide a polished look that distinguishes your bike on the track.
In this guide, we will explore essential DIY tips for fairing replacement that will help you navigate the process smoothly and efficiently. From selecting the right materials to understanding the tools needed, we’ll equip you with the knowledge to undertake this project with confidence. Whether you’re a seasoned racer or a weekend enthusiast, mastering fairing replacement will elevate your riding experience.
Additionally, it’s important to familiarize yourself with common challenges that arise during the replacement process. Issues such as alignment problems or securing the fairings can arise, but with our expert recommendations, you will learn how to overcome these obstacles effectively. Get ready to give your track bike a fresh look while ensuring optimal performance in every ride.
Choosing the Right Plastic Fairings for Your Track Bike
When selecting plastic fairings for your track bike, it is crucial to consider the material’s weight, durability, and aerodynamic properties. High-quality plastic fairings often provide a balance between lightweight construction and resistance to impacts, which is essential for competitive racing environments. Consider options like ABS (Acrylonitrile Butadiene Styrene) and polypropylene, as these materials offer a good mix of strength and flexibility.
The design of the fairings plays a significant role in performance. Look for fairings that have been tested in a wind tunnel, as this can ensure they provide optimal aerodynamic benefits, reducing drag and improving speed. Additionally, check for products that include integration for airflow, which can enhance engine cooling and overall efficiency during races.
Ensure compatibility with your bike model. Fairings should fit seamlessly and align properly with other components, preventing vibration and potential damage during high-speed rides. Many manufacturers offer model-specific fairings, which can simplify the selection process.
Another aspect to consider is the finish of the plastic fairings. A factory finish not only enhances the aesthetics of your bike but can also contribute to longevity. Look for UV-resistant coatings that prevent fading and degradation over time, ensuring that your fairings maintain their look and performance.
Lastly, don’t forget about installation ease. Some plastic fairings come with user-friendly mounting hardware and instructions, which can significantly reduce the time and effort required for installation. This can be a valuable factor if you plan on changing fairings frequently for different track conditions.
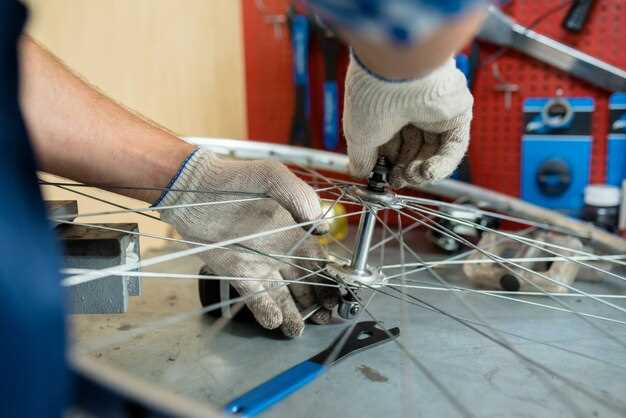
Step-by-Step Guide to Removing Old Fairings
Removing old fairings from your track bike can be a straightforward process if done systematically. Follow these steps to ensure a smooth removal:
-
Gather Necessary Tools
- Socket set
- Phillips and flathead screwdrivers
- Torx drivers (if applicable)
- Plastic prying tools
- Container for screws and small parts
-
Prepare the Workspace
- Ensure your bike is on a stable stand.
- Clear the area of any clutter to avoid losing parts.
- Wear gloves to prevent damage to the plastic surface of the fairings.
-
Identify Fasteners
- Locate all screw and bolt locations on the fairings.
- Check for hidden fasteners that may be covered by stickers or trims.
-
Remove Screws and Bolts
- Start with the most accessible screws using the appropriate screwdriver.
- Place screws in the container for easy retrieval later.
- Be cautious of any fasteners made of plastic; they may require special handling.
-
Detach Fairings
- Gently pull the fairings away from the bike frame.
- If they resist, double-check for any missed screws or clips.
- Use plastic prying tools to prevent scratches on the bike frame.
-
Inspect and Clean
- Once removed, inspect the fairings for any damage that needs to be repaired.
- Clean the bike frame where the fairings were attached, removing any adhesive residue or dirt.
-
Store Old Fairings Safely
- Place the old fairings in a protective storage bag or box.
- Label if necessary, in case you need to refer back to them.
By following these steps, you can efficiently remove old fairings and prepare your track bike for new replacements or maintenance. Ensure to handle all components carefully to maintain the integrity of your bike.
Installing New Fairings: Common Mistakes to Avoid
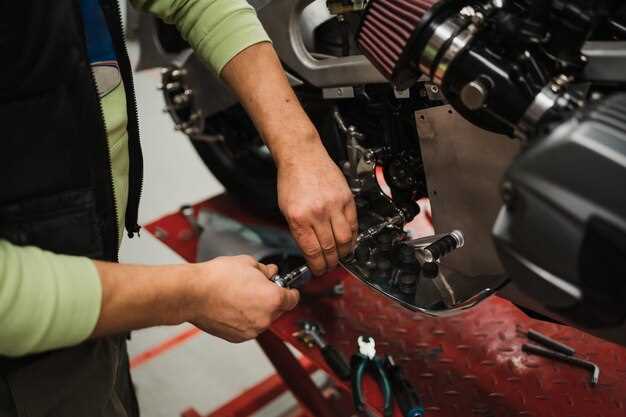
When installing new fairings on your track bike, several common mistakes can undermine your efforts and lead to complications down the line. One significant error is neglecting the quality of the plastic used in the fairings. Opting for low-grade materials can result in fairings that are prone to cracking or fading under stress. Always choose high-quality plastic to ensure durability and a better fit.
Another frequent mistake is failing to prepare the bike’s surface adequately before installation. Cleaning the motorcycle thoroughly removes dirt and residues that could impede the attachment of the fairings. Skipping this step may lead to unwanted gaps or misalignments during installation.
Additionally, many users overlook the importance of following proper installation procedures. Skipping steps or rushing the process can lead to improper mounting or damage to the fairings. Always refer to manufacturer guidelines for the correct installation sequence and techniques.
Using the wrong mounting hardware is another pitfall to avoid. It’s crucial to use the specified fasteners that are compatible with the plastic fairings. Improper hardware can strip the mounting holes or fail to secure the fairings adequately, resulting in vibrations or loss during high-speed conditions.
Lastly, do not underestimate the significance of securing the fairings snugly but without over-tightening. Excessive force can deform the plastic, creating cracks or compromising the structural integrity of the fairings. Always apply even pressure when tightening screws or bolts to ensure a perfect fit without causing damage.